# Note 3
# FlowChart
draw.io (opens new window) example:
# Hugo
# Installation
➕ Install Hugo on Windows:
https://gohugo.io/getting-started/installing (opens new window)

Add Hugo to your Windows PATH settings:

➕ Verify the Executable:
At the prompt, type hugo help and press the Enter key. You should see output that starts with:

If you do, then the installation is complete.
➕ Create a project:
cd C:\Hugo\Sites
hugo new site my_blog
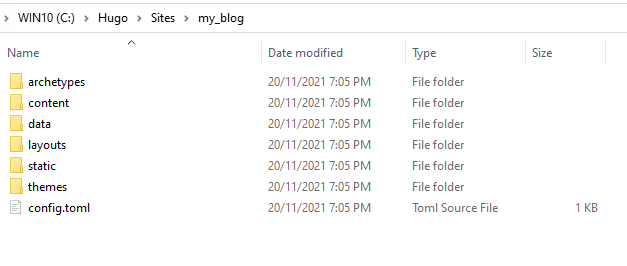
You should now have a directory at \Sites\my_blog
# Theme
https://hugodoit.pages.dev/theme-documentation-basics (opens new window)
# Install the Theme
Download the latest release (opens new window) and extract it in the themes directory. Or,
clone this repository to the themes directory:
git clone https://github.com/HEIGE-PCloud/DoIt.git themes/DoIt
or using Github Desktop:
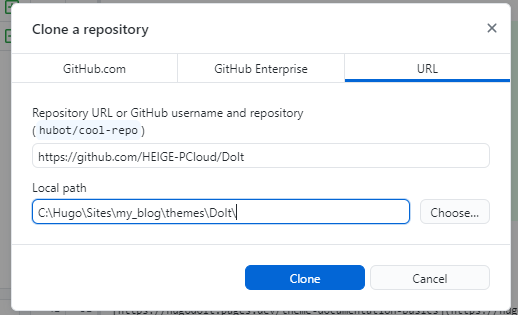
# Submodules
A common error found when initiating a deployment is either:
fatal: No url found for submodule path 'path/to/submodule'
The mapping needs to be added to a .gitmodules file located in the root directory of the repository you are using.
[submodule "path_to_submodule"]
  path = path_to_submodule
  url = git://url-of-source/
# Basic Configuration
The following is a basic configuration for the DoIt theme, by modifying config.toml in \Sites\my_blog
baseURL = "http://example.org/"
# [en, zh-cn, fr, ...] determines default content language
defaultContentLanguage = "en"
# language code
languageCode = "en"
title = "My New Hugo Site"

# Change the default theme to be use when building the site with Hugo
theme = "DoIt"

# Enable emoji globally
enableEmoji = "true"

[params]
  # DoIt theme version
  version = "0.2.X"

[menu]
  [[menu.main]]
    identifier = "posts"
    # you can add extra information before the name (HTML format is supported), such as icons
    pre = ""
    # you can add extra information after the name (HTML format is supported), such as icons
    post = ""
    name = "Posts"
    url = "/posts/"
    # title will be shown when you hover on this menu link
    title = ""
    weight = 1
  [[menu.main]]
    identifier = "tags"
    pre = ""
    post = ""
    name = "Tags"
    url = "/tags/"
    title = ""
    weight = 2
  [[menu.main]]
    identifier = "categories"
    pre = ""
    post = ""
    name = "Categories"
    url = "/categories/"
    title = ""
    weight = 3

# Markup related configuration in Hugo
[markup]
  # Syntax Highlighting (https://gohugo.io/content-management/syntax-highlighting)
  [markup.highlight]
    # false is a necessary configuration (https://github.com/dillonzq/LoveIt/issues/158)
    noClasses = false
# Create Your First Post
cd C:\Hugo\Sites\my_blog
hugo new posts/first_post.md
Info
By default all posts and pages are created as a draft. If you want to render these pages, remove the property draft: true from the metadata, set the property draft: false or add -D or --buildDrafts parameter to hugo command.
# Launching the Website Locally
hugo serve
It is highly recommended that you add --disableFastRender parameter to hugo server command for the live preview of the page you are editing.
hugo serve --disableFastRender
# Deployment
# Posts Structure
➕ Basic Markdown syntax
https://hugodoit.pages.dev/basic-markdown-syntax/ (opens new window)
➡️ Read more at https://foxdie.pages.dev/first-post/ (opens new window)